Simple CI/CD from Github To AWS S3 for a snake game.
In this blog, we’re going to see how to create a simple CI/CD pipeline for our Snake Game.
Stages
Services Used
- GitHub Actions
- AWS S3
- IAM (Identity & Access Management)
GitHub Actions
GitHub Actions is a platform that helps automate software development, Continuous Integration, and Continuous Delivery (CI/CD).
- Other CI/CD tools: Jenkins, GitLab, AWS CodePipeline, Azure Pipeline
AWS S3
An Amazon S3 bucket is a public cloud storage container for objects stored in Amazon Simple Storage Service (S3). Buckets are similar to file folders and can be used to store data for a variety of use cases. In our project, we’re going to store our project files and access them publicly as a static website.
IAM (Identity & Access Management)
AWS Identity and Access Management (IAM) is a web service that assists users in securely controlling access to AWS resources. In our project, we will be performing actions such as writing and removing files from our GitHub repository to an S3 bucket. Therefore, IAM is required to access our S3 bucket securely.
Now, we need a Snake Game. Here is my repository; you can fork it if you need to practice: AWS_Learning-CI_CD-GithubtoS3
Now, let’s create an S3 bucket.
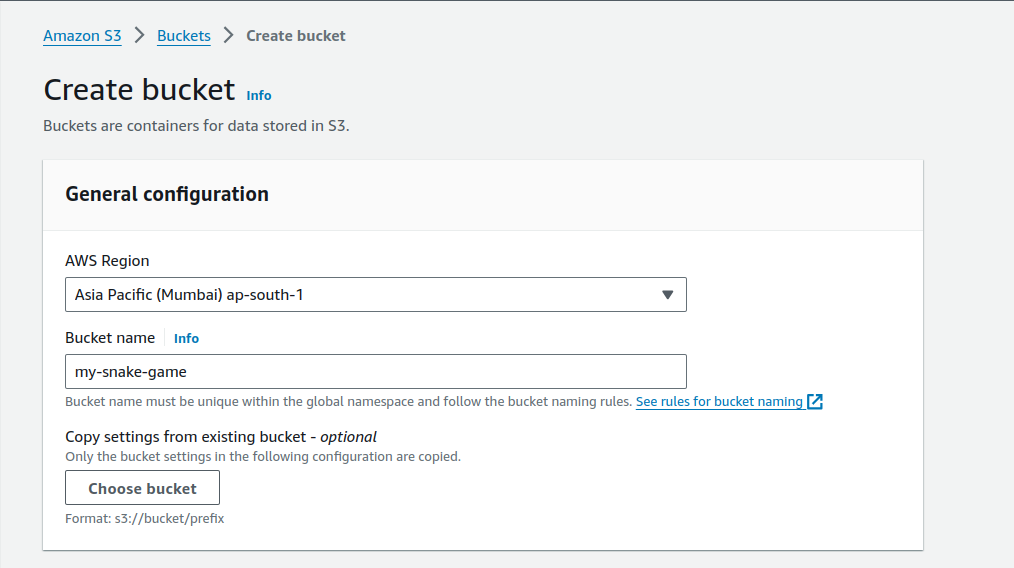
Login to your AWS console and navigate to the S3 service. Click on the “Create bucket” option.
Select your AWS region and give a name to your bucket. Here, I’ve selected ‘ap-south-1’ as the AWS region and named the bucket ‘my-snake-game’.
After that, in Object Ownership, select ACL enabled.
Scroll down, and you’ll see ‘Block Public Access settings for this bucket’. Click the checkbox to disable it because the bucket is going to be accessed by everyone, and click the acknowledge box below.
Click the Create bucket button, and your bucket is now created.
Now, click on the bucket that has been created. Navigate to Properties, scroll down to the last, and you’ll see Static website hosting. Click “Edit” and enable it.

Creating IAM User
Search for the IAM service in the AWS console and click on Create user.
Give a name to your user.
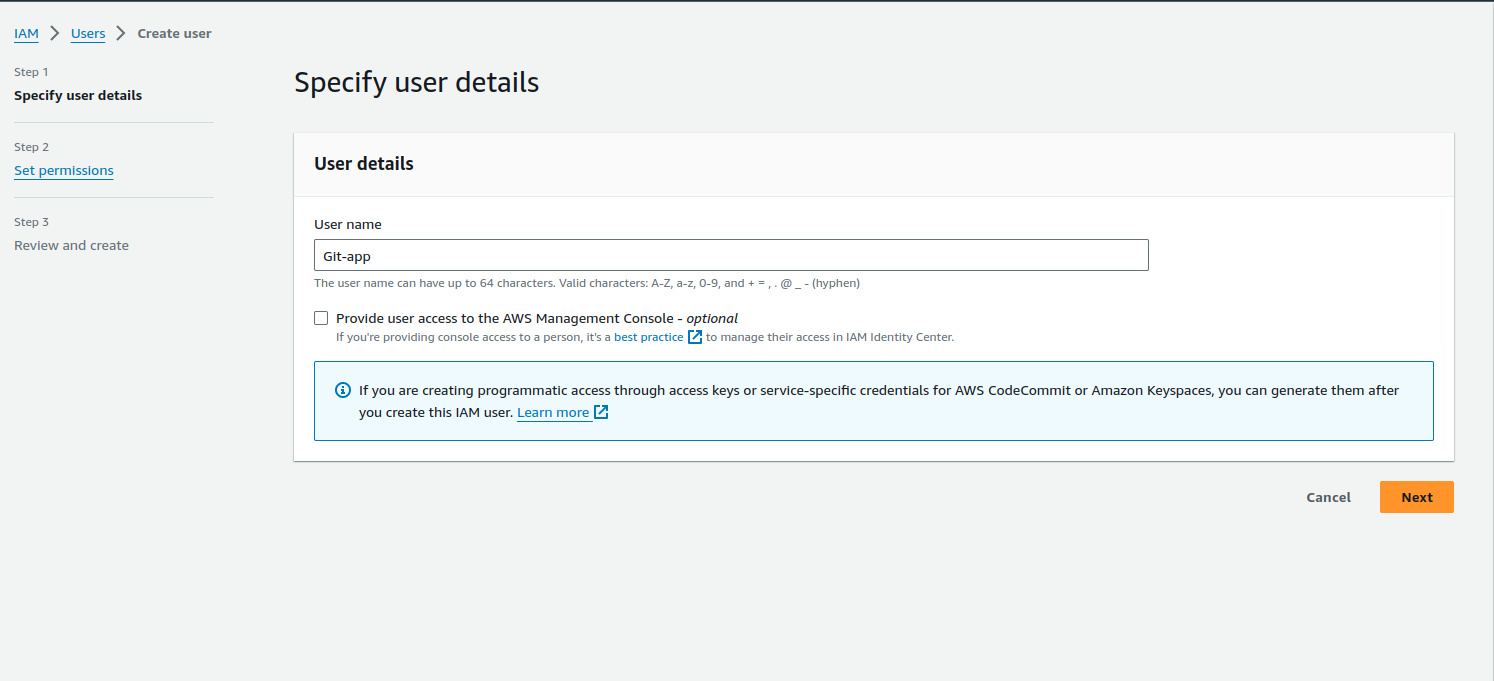
Click Next.
Click Attach policies directly, search for S3 permission policies, add the policy, click Next, and create a user. Now we’ve created the user.
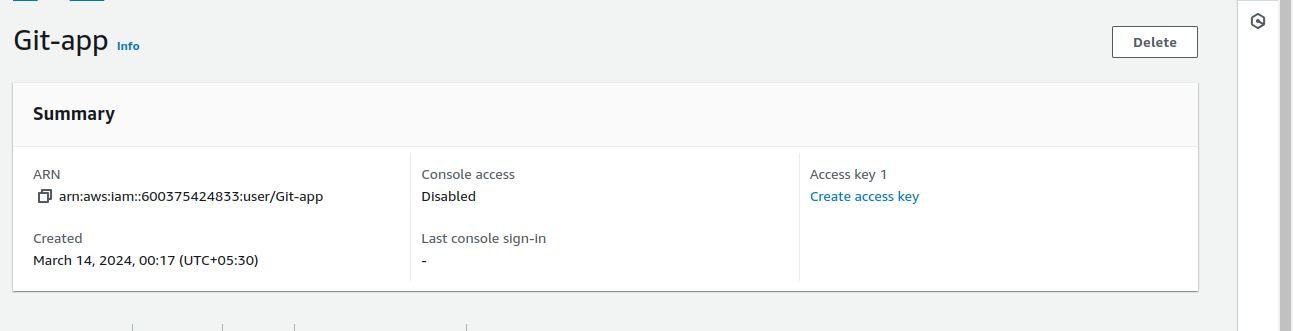
Now, we need an Access Key. Click on the “Create access key” button.
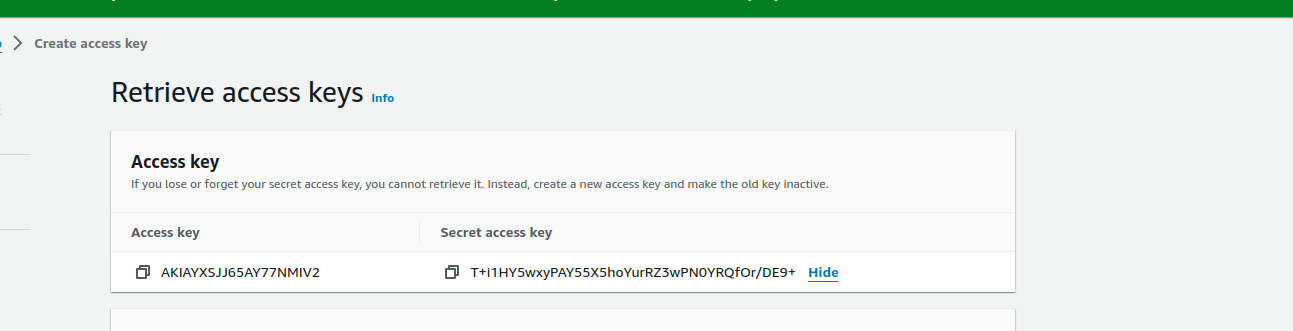
 After completing certain steps, copy and paste both the Access_key and Secret_access_key safely as we’re going to use them later.
Now, we’re going to create a bucket policy to determine which user is accessing the bucket.
Go to the S3 service, click on the bucket we created, navigate to the permission tab, click Edit Bucket Policy -> Policy Generator.
Select the following:
- Step 1: Select Policy Type as S3 Bucket Policy
- Step 2: Here, the principal is the user who is going to access this bucket. Select their ARN and allow all actions. Next, paste the bucket’s ARN that the user is going to access. Click Add Statement.
- Step 3: Generate the policy.
Now, copy the generated policy and paste it in the S3 bucket policy and save it.
Now, let’s set up the GitHub action.
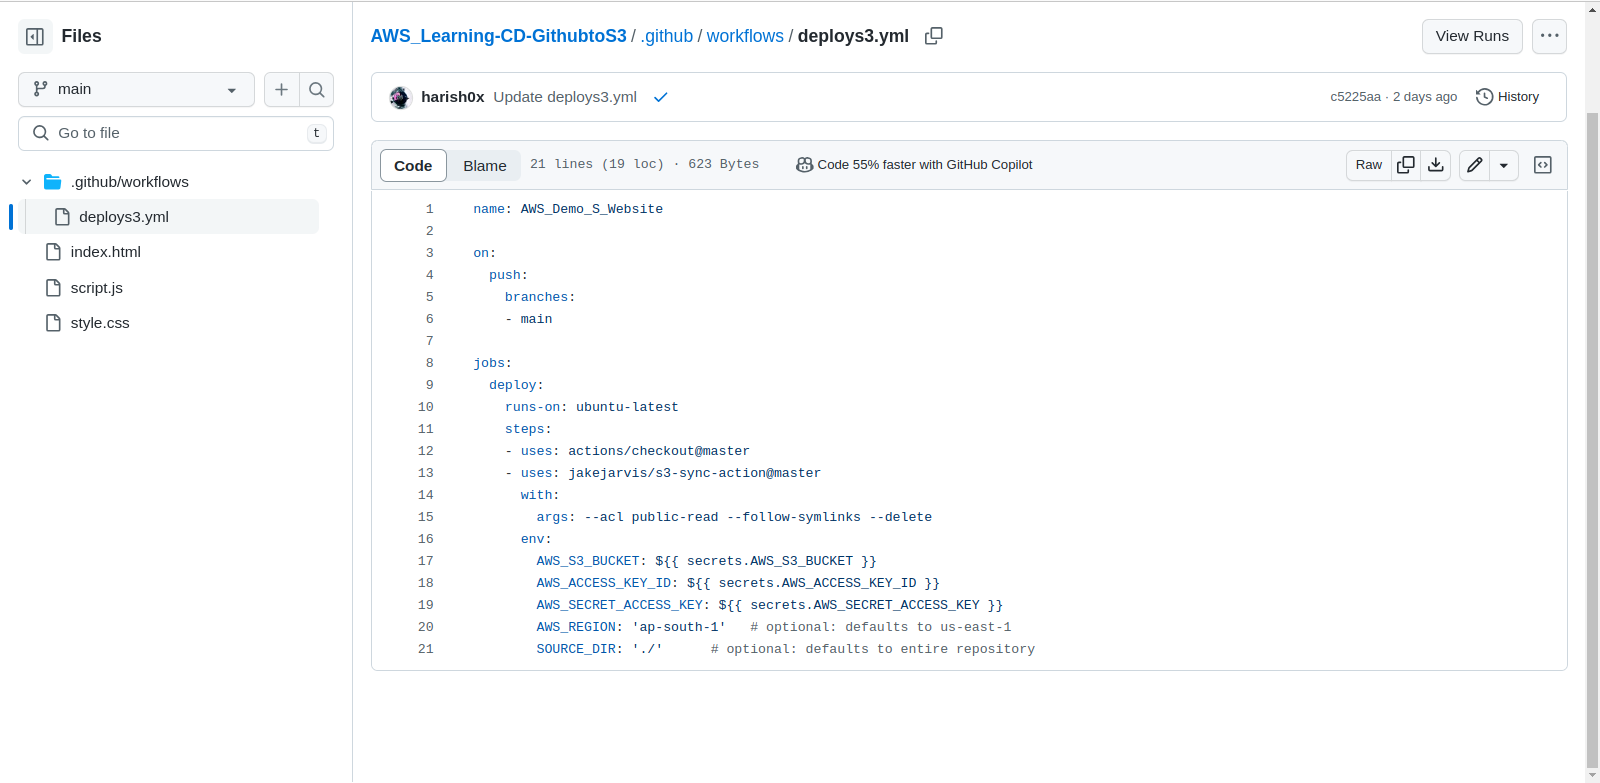 From the forked repo, you can see the workflow deploys3.yml.
It creates a workflow when you commit the code; when a push occurs in main, it declares the jobs below, which deploys the ubuntu-latest image and fetches the s3-sync-action script created by jakejarvis. You can read the script if you want.
After that, you can see the env variable where our AWS credentials are going to be used:
AWS_S3_BUCKET: $
AWS_ACCESS_KEY_ID: $
AWS_SECRET_ACCESS_KEY: $
Now, we want to set our AWS credentials. Click on Settings -> Secrets and Variables. There, you can add the env-var by clicking on new repository secret.

- AWS_S3_BUCKET: name of the S3 bucket
- AWS_ACCESS_KEY_ID: Access key that we created
- AWS_SECRET_ACCESS_KEY: Secret key that we created
Now, make a change in our Snake Game and check whether the deployment is working or not.
After making a small change in Index.html, it starts its workflow.
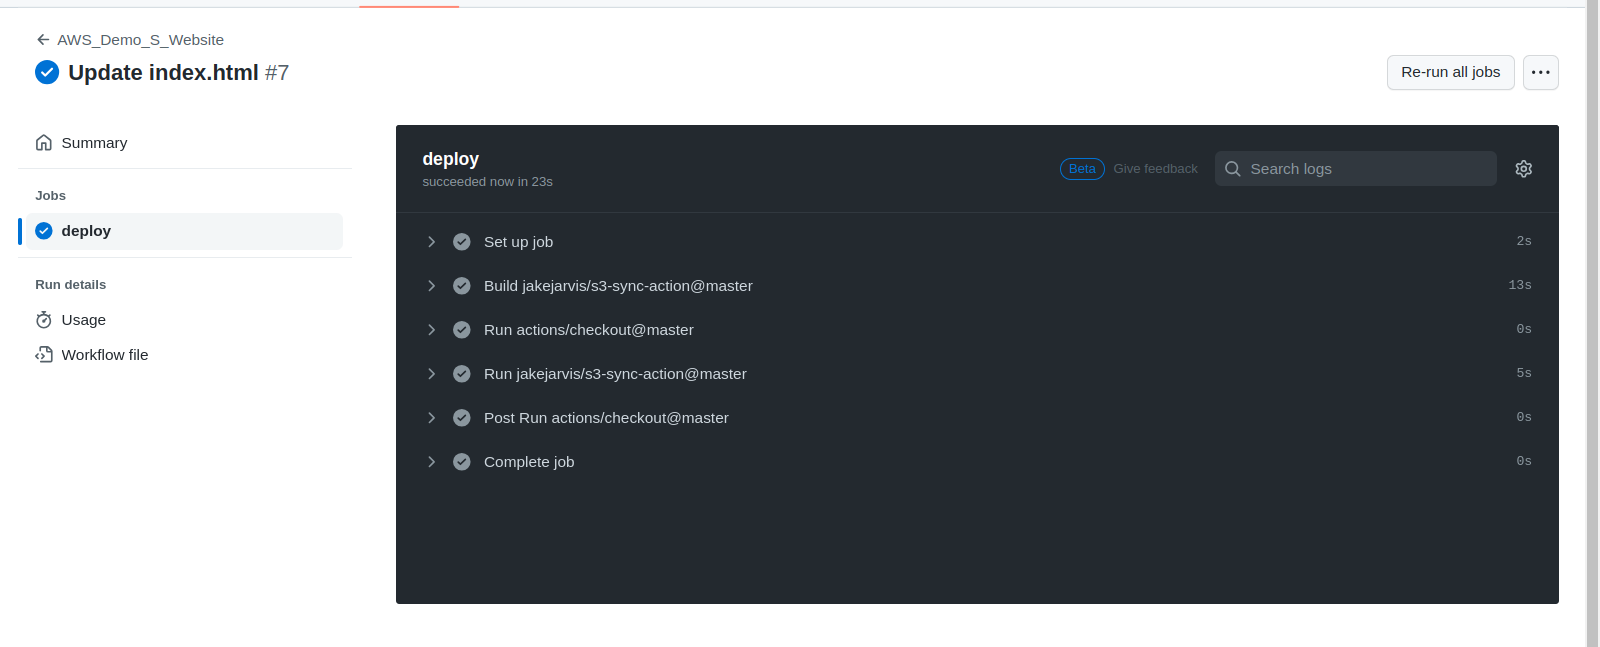
You can see our workflow is working. Now check if the game is working or not.
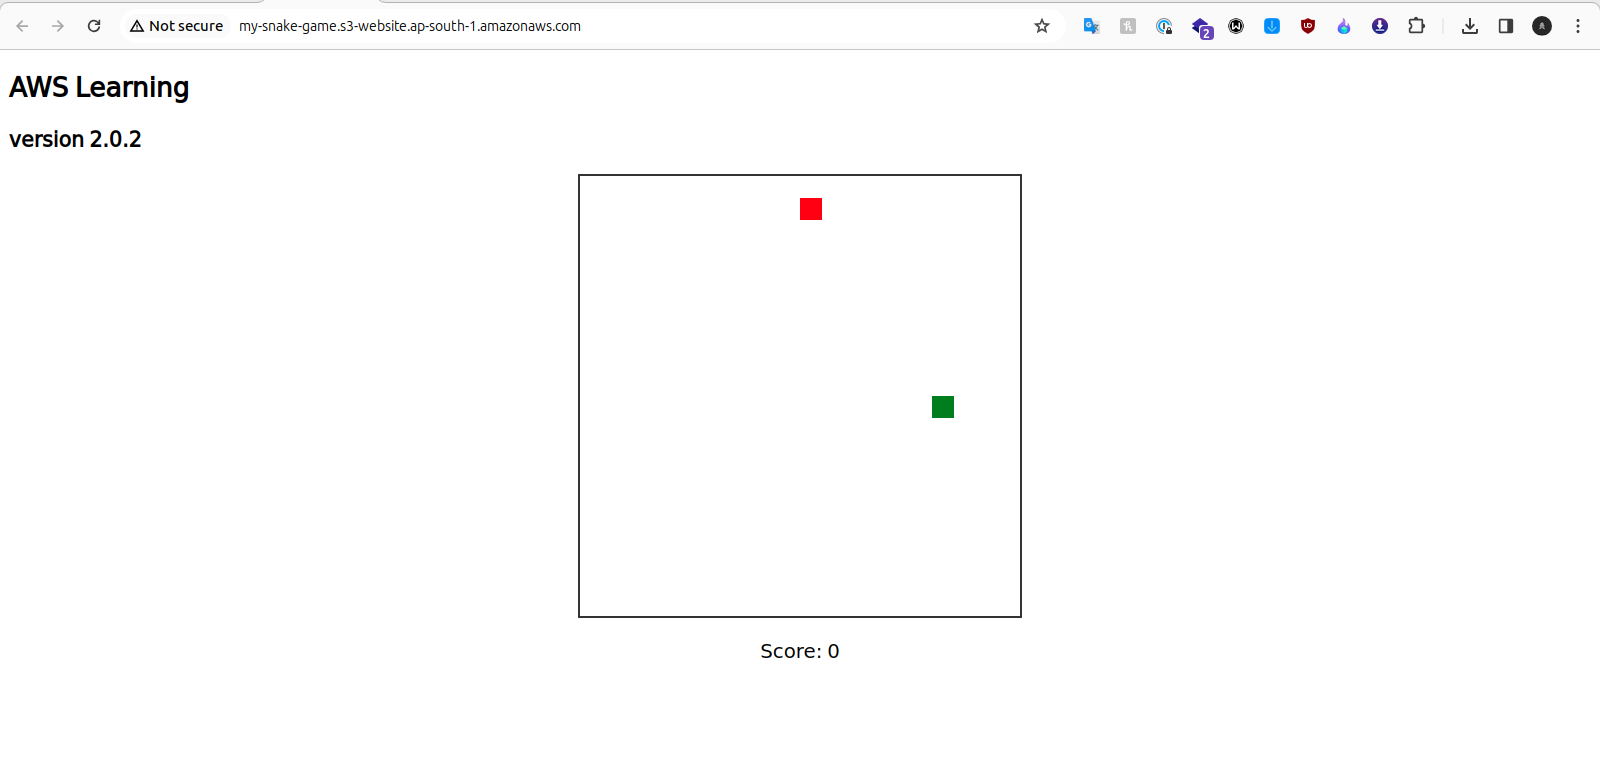 The game is working. Now, let’s check our S3.

Our file is in sync with S3 from GitHub, and our Snake Game is running successfully.
Summary
- Learned how the CI/CD works
- How we sync our code repo to S3
- How to host a static website using S3
- How GitHub action works